Picture this: you’ve just finished installing a sleek, modern shower in your San Luis home, and the first splash of water turns the new tile into a soggy mess. One tiny oversight can turn a dream upgrade into a nightmare that drains both your wallet and your patience.
Most homeowners stumble over the same three traps—poor waterproofing, mismatched pipe sizes, and skimping on proper venting. The result? Hidden leaks, costly repairs, and a shower that never lives up to its showroom promise.
Stick around, and you’ll learn exactly how to sidestep those pitfalls, keep the project on budget, and walk into a flawless shower that lasts for years to come.
Mastering Waterproofing: Membranes, Sealants, and Drainage Systems
In a San Luis shower, the line between a sleek oasis and a soggy disaster is drawn by how well you keep water out. A single missed spot in the barrier can let moisture creep behind tile, rot the subfloor, and turn a fresh install into a costly repair. Think of waterproofing as the skin that protects the whole system—if the skin fails, everything underneath suffers.
Membrane Choices
There are two main players: sheet‑on‑sheet and liquid‑applied membranes. Sheet membranes (often a 30‑mil PVC or CPE) give you a solid, puncture‑resistant layer, while liquid membranes flow into every nook, creating a seamless seal. Both work, but the right pick depends on your shower’s shape and your crew’s skill set.
- Sheet membrane: easy to inspect, great for flat floors, requires careful seam taping.
- Liquid membrane: perfect for curvy niches, no seams to worry about, but needs proper curing time.
- Hybrid systems: combine both for extra peace of mind in high‑traffic homes.
Sealants and Drainage
Even the best membrane can leak if the joints aren’t sealed with a high‑quality, mold‑resistant silicone or polyurethane. Apply the sealant in a continuous bead, smooth it with a finger or tool, and let it cure fully before any water hits it. Then, don’t forget the drainage plane—install a sloped pre‑formed shower pan or build a slope of at least 1/4‑inch per foot toward the drain to guide water away fast.
- Use U‑shaped silicone around the curb and where the wall meets the floor.
- Check local code for minimum slope; in San Luis, 2% is the sweet spot.
- Test the system with a bucket of water before tiling; any pooling means you need to re‑grade.
Pipe Sizing and Material Selection: Matching Flow Rates and Local Codes
Know Your Flow Before You Cut
In San Luis, a 2‑inch main line is the sweet spot for most residential showers. Anything smaller throttles water, anything larger wastes material and space. Measure the fixture’s flow rate (usually 2.5 gpm for a standard head) and match it to a pipe that can handle at least 1.5 times that volume.
Material Matters – Not All Pipes Are Created Equal
Choose wisely: copper offers durability but can be pricey; PEX is flexible, cheap, and handles temperature swings; CPVC sits in the middle, resistant to corrosion but needs careful handling. Each material has a code‑approved pressure rating—don’t ignore it.
- Copper: 250 psi, ideal for hot water loops.
- PEX: 160 psi, perfect for quick installs.
- CPVC: 180 psi, good for mixed‑use lines.
Stay on the Right Side of the Code
Arizona’s plumbing code (2018 edition) demands a minimum ½‑inch vent for every shower branch. It also requires a pressure‑reducing valve if the municipal supply exceeds 80 psi. Ignoring these rules invites inspections, fines, and leaks.
Before you order, pull the latest San Luis code booklet or ask your local supplier. A quick check now saves a costly redo later.
Venting Essentials: Ensuring Proper Airflow and Preventing Pressure Buildup
Why Venting Matters
Without a clear path for air to move, the shower trap can become a vacuum, pulling water out of the seal and inviting leaks. Good venting keeps the drain happy and stops the dreaded “gurgle” that signals pressure problems. In San Luis, where summer heat expands pipes, a solid vent is the insurance policy against hidden damage.
Types of Venting You’ll Need
Pick the right vent and you’ll avoid costly re‑work. Here are the most common options for residential showers:
- Air‑Admittance Valve (AAV) – a one‑way gate that lets air in without a roof vent; perfect for remodels where running a new pipe is a pain.
- Traditional Roof Vent – the gold standard; runs up through the roof and guarantees compliance with the Arizona plumbing code.
- Loop Vent – a short horizontal run that loops back to the stack; a clever compromise when roof access is limited.
Code & Inspection Checklist
Arizona’s plumbing code demands a vent size no smaller than 1‑¼ in. for a standard 2‑in. shower drain. Measure twice, vent once – a mis‑sized vent can cause slow draining and pressure spikes that crack tile grout. Before the final inspection, verify that:
- The vent pipe rises at least 6 in. above the flood level rim.
- All connections are sealed with approved solvent cement or threaded fittings.
- The vent terminates outside or through a certified roof flashing.
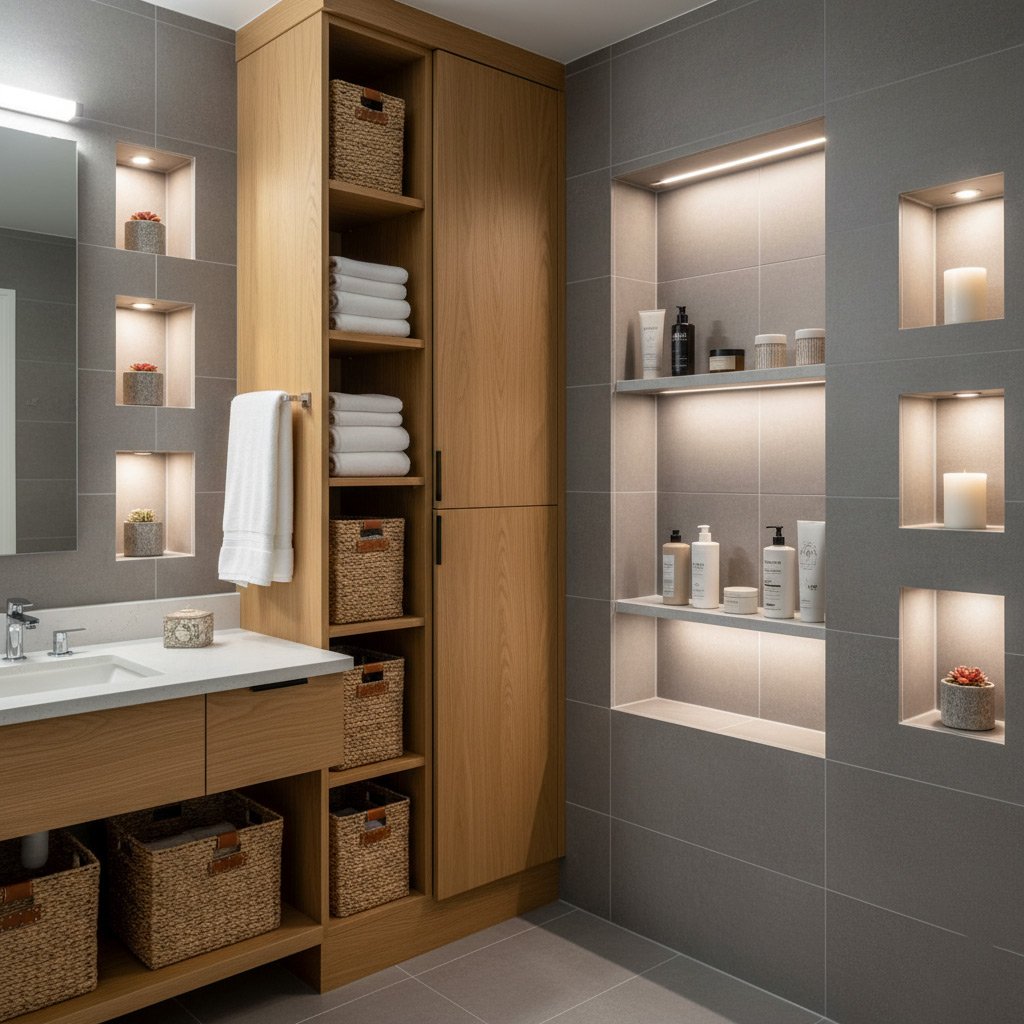
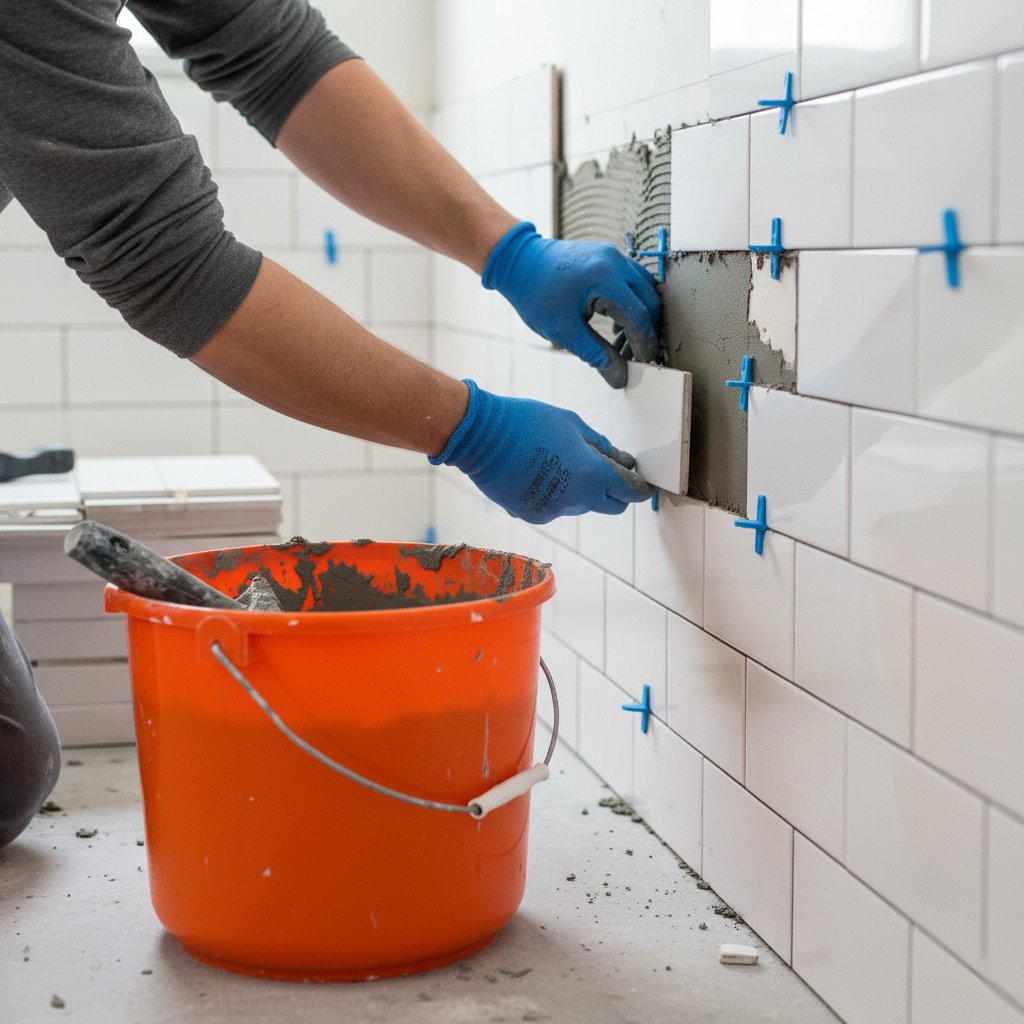
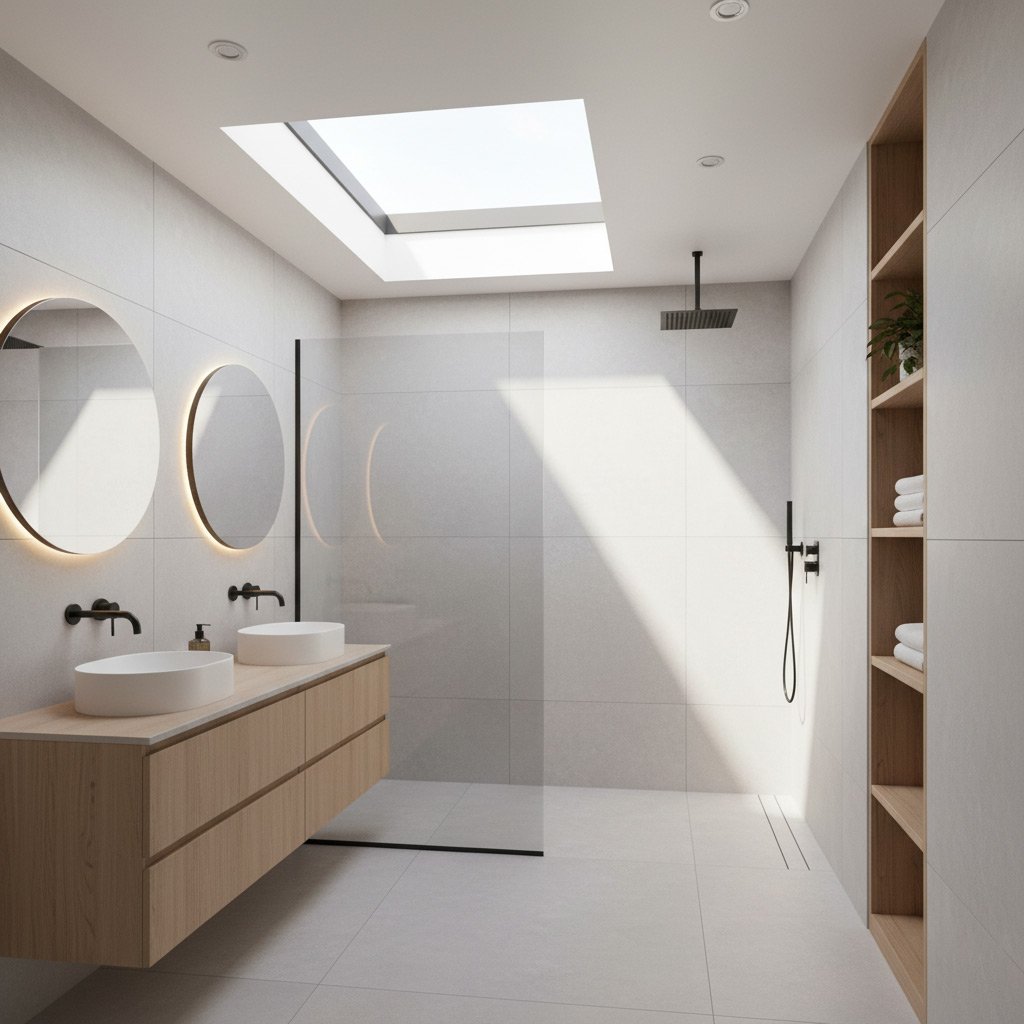
Tile and Grout Choices: Durability, Slip Resistance, and Maintenance Considerations
When you pick tile, think about the real world of a San Luis shower—not just the showroom look. Porcelain or glazed ceramic can take a beating from hard water and daily traffic, while natural stone adds wow factor but demands sealing every few months. Choose a surface that matches your lifestyle, not just your Instagram feed.
Slip‑Resistant Strategies
Even the slickest tile can be safe if you add texture where the water pools. Look for a coefficient of friction (COF) rating of .6 or higher on the tread area. Small tricks that make a big difference:
- Ribbed or matte finishes on the floor tile.
- Contrast‑colored, non‑slip strips in the shower base.
- Micro‑etched patterns that stay invisible until they get wet.
Grout is the silent workhorse that holds everything together, so pick wisely. Epoxy grout resists stains and mold better than cement‑based mixes, but it’s pricier and harder to work with. If you stick with cement, seal it within 48 hours and re‑seal annually to keep the mildew at bay.
Comprehensive Installation Checklist: From Planning to Final Inspection
Planning Phase
- Secure any required permits from the San Luis building department.
- Take precise measurements of the shower footprint – every inch counts.
- Choose a waterproofing system that meets local code and matches your tile choice.
- Order all materials (membrane, drain, pipe, tile, grout) before the crew shows up.
- Schedule a licensed plumber and electrician to confirm rough‑in dates.
Getting the paperwork and the parts right before you lift a single tile saves you from costly re‑work later. A solid plan is the only thing that keeps the budget from ballooning.
Installation Phase
- Prep the substrate: clean, level, and prime the surface.
- Apply the waterproofing membrane with overlapping seams and seal every edge.
- Install the drain assembly, making sure the sloped pipe meets the code‑required 1/4‑inch per foot.
- Connect supply lines using the correct pipe size and material.
- Lay tile, using a consistent mortar bed and maintaining a uniform grout line.
- Seal all joints with a high‑quality silicone that resists mold.
Don’t rush the mortar cure or the grout set‑time; a rushed job is a leaky job. Keep an eye on each step, and the shower will hold water like a champ.
Final Inspection
- Run water through the shower for at least 15 minutes, watching for drips at seams and corners.
- Check the drain for proper flow – no standing water, no gurgling.
- Verify the floor slope is consistent toward the drain.
- Inspect grout and caulk for gaps or cracks.
- Confirm that all work meets San Luis plumbing and building codes.
When the inspector signs off, you’ve earned a shower that looks great and stays dry. A thorough final check is the only way to guarantee peace of mind for years to come.
Case Study: A Seamless Shower Renovation in a San Luis Residence
When the Martinez family called us, their bathroom looked like a time capsule from the ’80s—cracked tile, rusted fixtures, and a shower that leaked faster than a busted garden hose. Our mission? Turn that disaster into a spa‑like retreat without blowing the budget.
What Went Wrong (and How We Fixed It)
First, we uncovered three silent killers:
- Poor waterproofing—the old membrane had split at the corners.
- Undersized copper pipe—couldn’t handle the new showerhead’s flow.
- No vent stack—caused pressure spikes and slow drainage.
We tackled each issue head‑on. A liquid‑applied waterproofing membrane was sprayed over the entire shower pan, followed by a self‑leveling slope toward the drain. New ½‑inch PEX tubing replaced the copper, matching the high‑flow valve’s specs. Finally, we installed a vent pipe that broke through the roof, letting air move freely.
Result: A Shower That Holds Up
Three weeks later the Martinez shower was live. No leaks, no drips, and a water pressure that felt like a waterfall. The tile work? Porcelain slabs with a slip‑resistant finish, laid with a polymer‑enhanced mortar that resists cracking.
What the family loved most: the peace of mind that comes from a job done right the first time. They saved over $2,000 in potential repairs and now enjoy a bathroom that adds real value to their home.
Final Words
When the water finally hits the tile, you want the only surprise to be how good it feels. Keep a written log of every material, measurement, and inspection date—future you will thank you when the warranty paperwork shows up.
Don’t wait for a drip to become a flood. If anything feels off—odd noises, slow drainage, or a faint damp spot—call a licensed plumber who knows New Showers standards in San Luis. A quick professional eye can stop a small slip from turning into a costly repair.
Quick Reminder Checklist
- Waterproofing: double‑check membrane seams and sealant coverage.
- Pipe sizing: verify that every line matches the flow rate chart for your fixtures.
- Venting: confirm the vent pipe is clear and properly sized.
- Tile & grout: choose slip‑resistant surfaces and seal grout within 48 hours.
- Final inspection: walk through with the contractor and sign off on every item.
People Also Ask
What is the most reliable waterproofing method for new showers in San Luis?
A liquid‑applied membrane combined with a high‑quality sealant provides a seamless barrier that resists moisture intrusion. Pair it with a properly sloped drainage system to direct water toward the drain and avoid hidden leaks.How do I choose the right pipe size for a shower remodel?
Select pipe diameters that match the fixture’s flow rate—typically ½‑inch for the showerhead and ¾‑inch for the main supply line. Verify that the sizing complies with the Arizona Residential Code and local utility requirements.Why is venting important for a new shower installation?
Proper venting equalizes air pressure, preventing water‑siphon issues that can cause leaks at the trap. A vent pipe or air admittance valve ensures smooth drainage and protects the plumbing system from pressure buildup.What tile and grout options offer the best slip resistance?
Porcelain or ceramic tiles with a textured surface and a minimum 0.6 COF (coefficient of friction) are ideal for safety. Use epoxy‑based grout, which resists staining and remains durable in a wet environment.What should be on my final inspection checklist for a shower remodel?
Confirm waterproofing integrity, correct pipe sizing, functional venting, proper tile alignment, and sealed grout. Test the drain for proper flow and check for any water pooling before signing off on the project.San Luis Bathroom Remodel brings over a decade of specialized bathroom renovation expertise to homeowners throughout San Luis, Arizona. Their team combines skilled craftsmanship with a deep understanding of local design preferences, ensuring each project enhances both functionality and style. Committed to personalized service, they guide clients from concept through completion for a seamless remodel experience.
Need Bathroom Remodel?
We transform bathrooms in San Luis, AZ and surrounding ZIPs (85349, 85350, 85364, 85365, 85337). Our remodels are completed on schedule, delivering modern, functional spaces you’ll love.
Request Remodel Quote